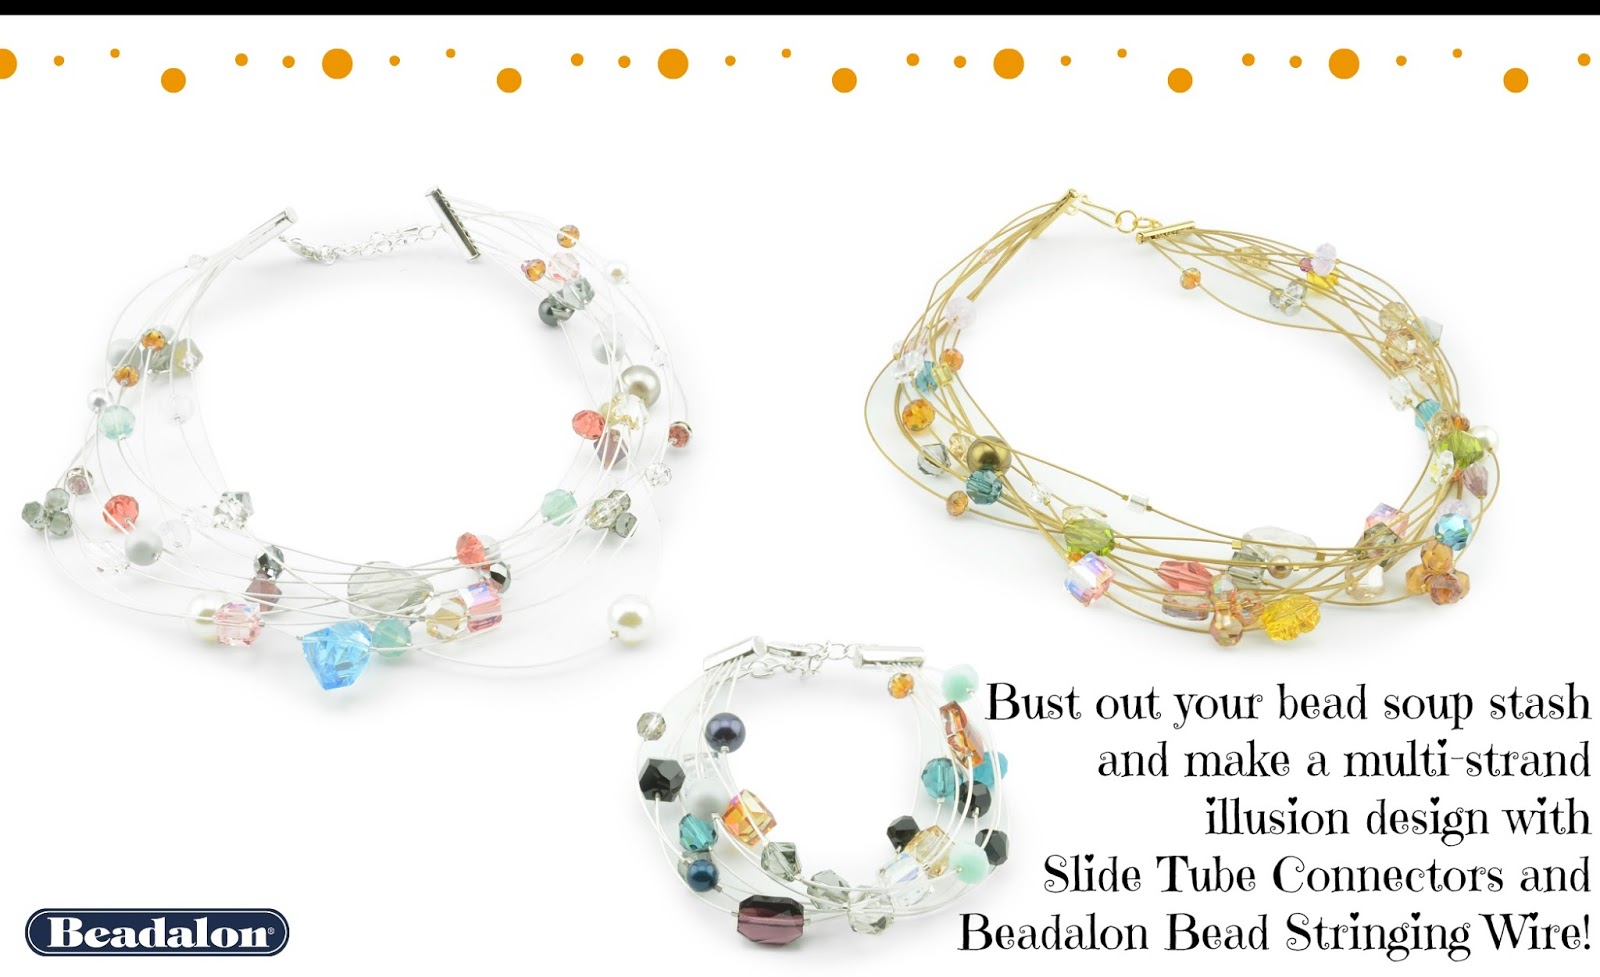
Make a beautiful, deceptively easy, multi-strand illusion bracelet and necklace with Beadalon Bead Stringing Wire, Tube Slide Ends, and a stash of bead soup!

I love the project that we featured on Facebook Live this week! The Slide Connectors with Lobster Extension Clasps and the Tube Slide Ends are some of the most versatile components in our catalog. These two Findings are similar in their function, but the Connectors that have the Lobster Clasps attached are slightly larger - with a 3.5mm opening and a Lobster Clasp and chain attached. The Tube Slide Ends don't come with a clasp, and they have a tube diameter of 2.44mm which makes them the perfect size for size 11 seed beads and Delicas. When we first brought these findings in, we were focused on using them for finishing off projects made with the Jewel Loom.


I also love crimping the ends of Beadalon Bead Stringing Wire and sliding them in to make multi-strand illusion bracelets and necklaces.

It's fabulously easy to do. Just loop the wire over the end of a Crimp Bead or Tube, crimp with the Crimping Pliers, slide the crimp into the Tube End, and use a Pliers to bend down the end.

Follow along in the Video to see how I add some Beads from a Bead Soup desk and floor sweep to make a fun and eclectic design.
Materials Used:
Bead Soup Mix
Instructions:
- Cut about 10 x 16" lengths of Bead Stringing Wire.
- One by one, loop the very end of each Wire around a Size 2 Crimp Bead and crimp it in place.
- Slide all of the crimped Wires into one Tube End.
- Now the fun starts. Add beads to each wire in turn in a random order with random spacing by flattening a Size 1 Crimp Tube on each side of the bead to hold it into place.
- Repeat step 2 and loop the other end of the Wire around a Size 2 Crimp Tube and Crimp the Tube.
- Slide the loose Wires - don't worry about the order - one by one into the other Tube End and close the side to hold the Wires in place.
Thanks for joining me. Until next time....
Happy beading!
-Meredith
Comments
Post a Comment